WordPress is a Content Management System (CMS), that is also open source. Which means anyone can edit for a better way to enhance the functionality.
WordPress is the most popular software to perform web development very quickly. Here anyone, who doesn’t have any coding background, can publish your website and do your passionate works. That’s the high encouragement for the community to opt WordPress to establish their names in the world web.
WordPress installation in localhost in windows
The WordPress tutorial starts here for local host installations.
Primary Requisites
- Requires Server software
- WordPress software downloaded from its website
- Install WordPress.
Step 1. Download Server software
There are several local servers providing the function of the installation of WordPress. This software contain basically a web server, Database server, web development tools. These are the building blocks of any website.
It is important to look into which platform is suitable for you and also check the differences click here.
Here we are installing the WordPress on the XAMPP server .
Step 1 : – Local Server setup
- First, install the downloaded XAMPP server software.
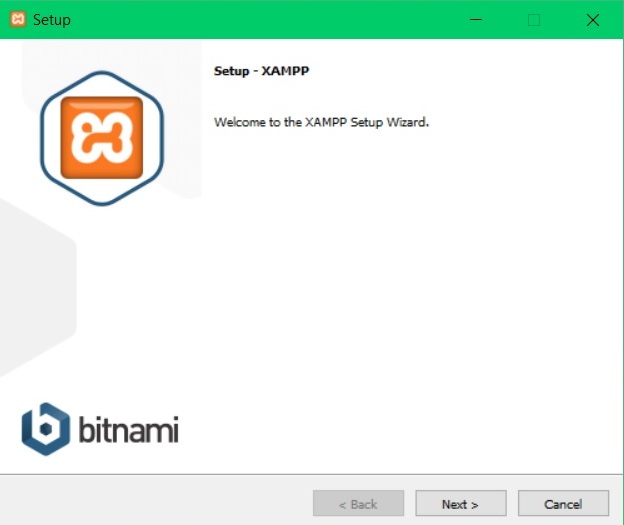
After double-clicking the downloaded .exe file, below window will appear.
Click Next to the window
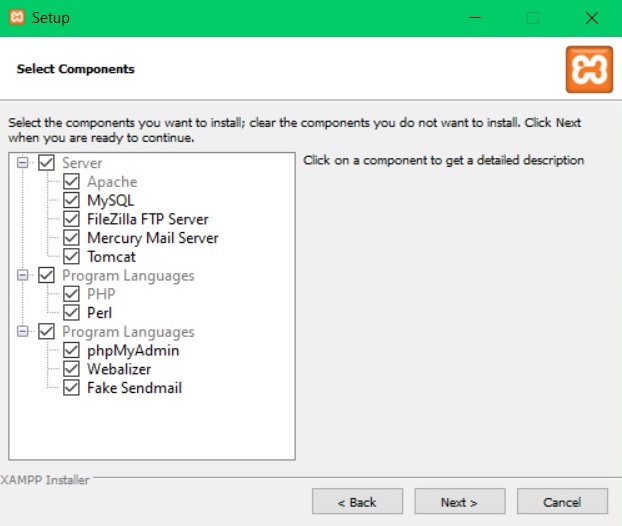
2. Select components as per your requirement , here we uses the default setup , so click next to the window
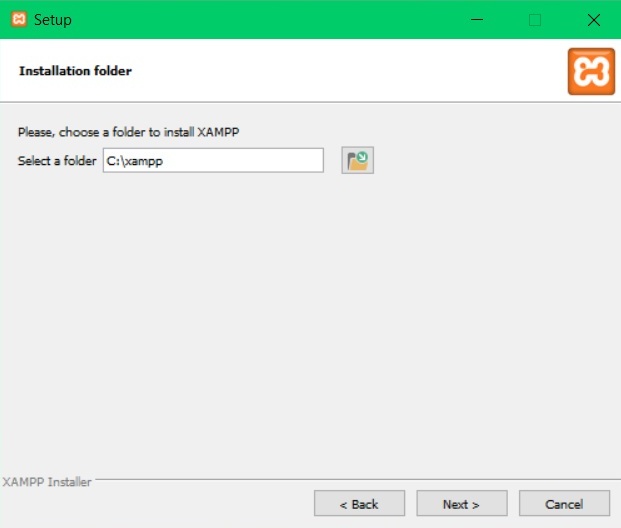
3. Installation folder selection
It is recommended to select the folder in C:/Drive for installation, then click next
4. Click Next
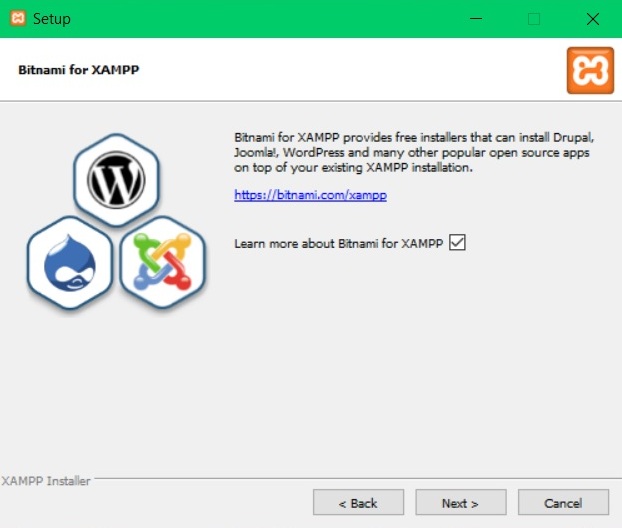
5. Click Next
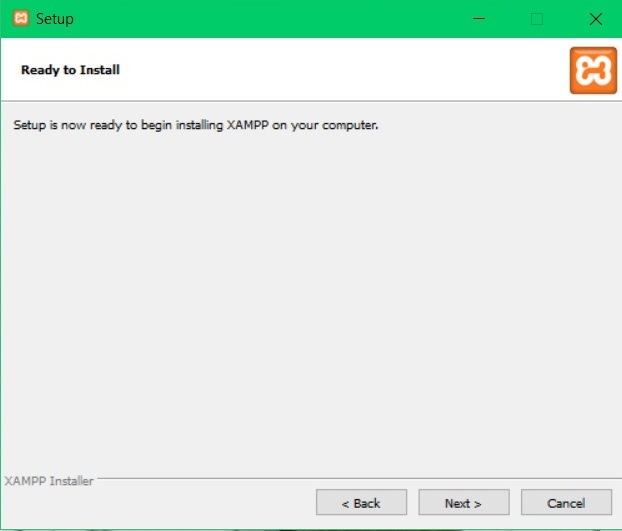
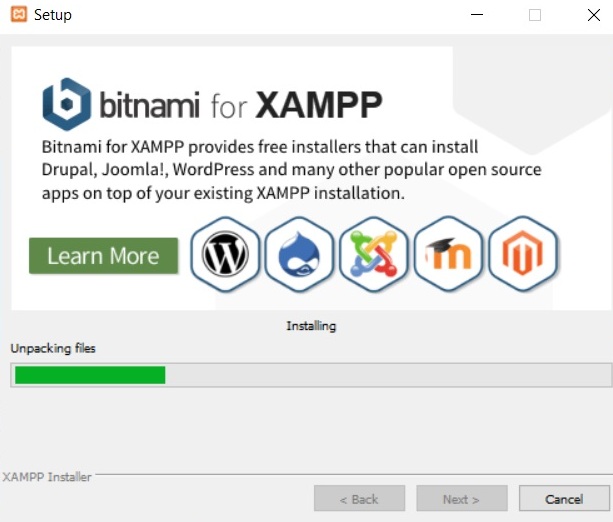
You can see the installation progress window
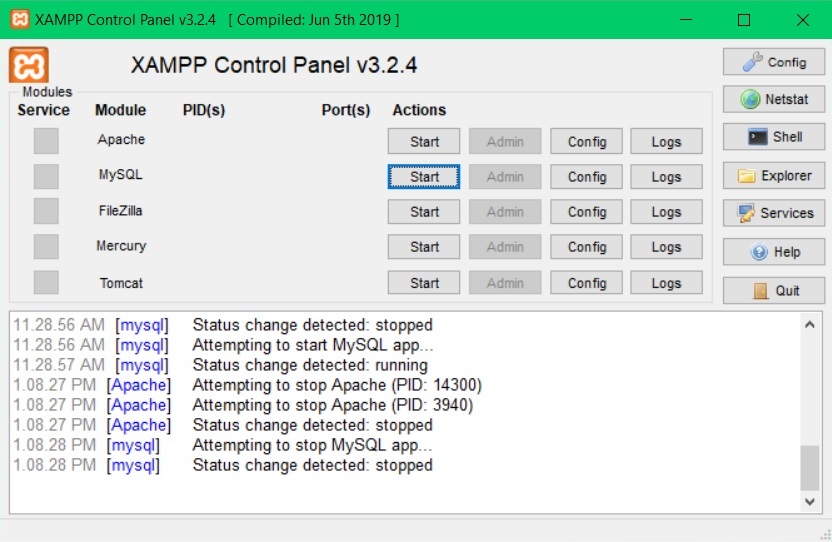
6. Open XAMPP server app and start the server of Apache , Mysql
7. Next step we have to download WordPress from Official Link
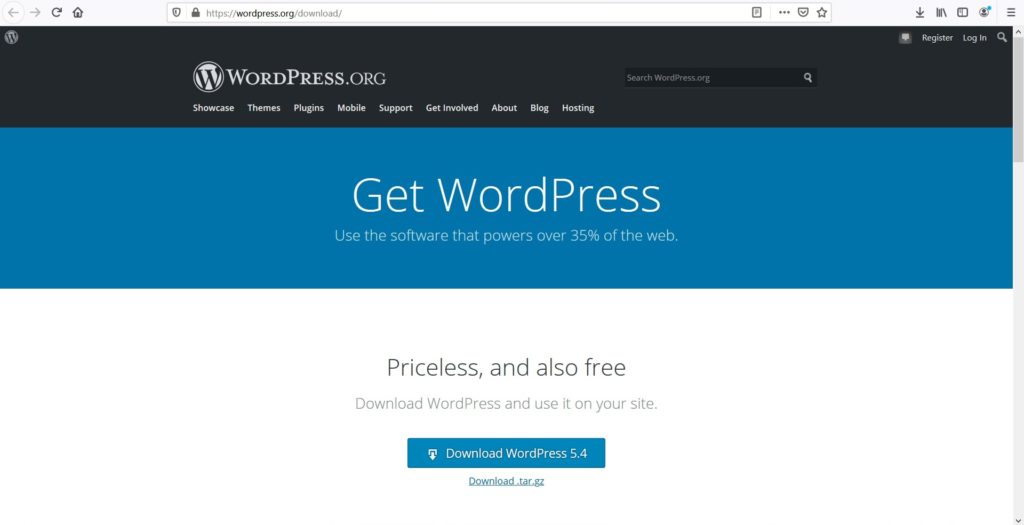
Download appropriate package either Linux based or Windows based.
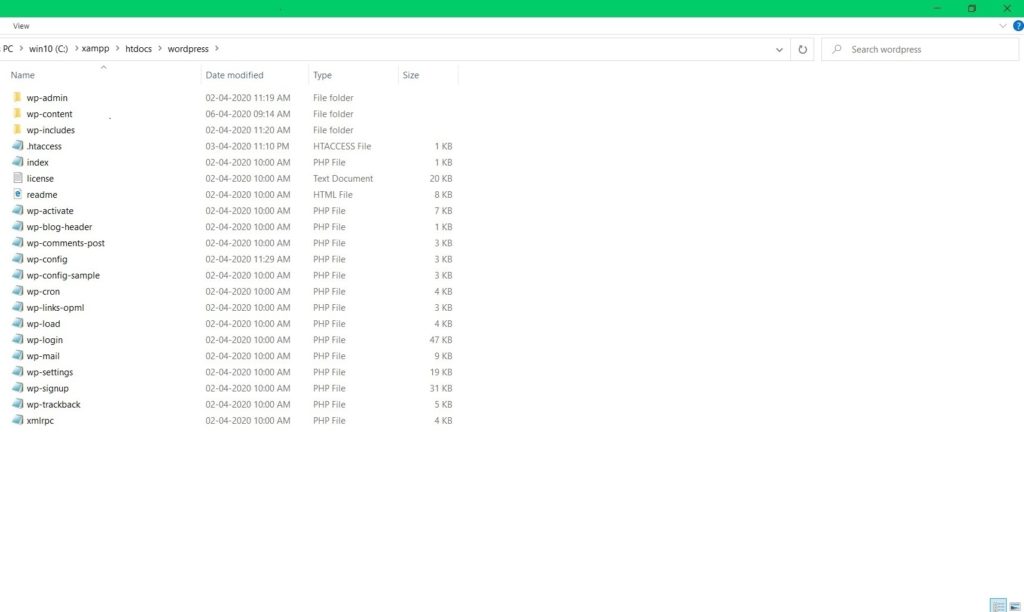
8. Extract the Downloaded WordPress file into C:/xampp/htdocs/wordpress/
Note – Here WordPress is my Test website, you can allot your domain name if you want. Other wise keep it as a sample page like WordPress.
The file directory looks like this.
We are almost done ! Now we should work with Database creation and assign to WordPress.
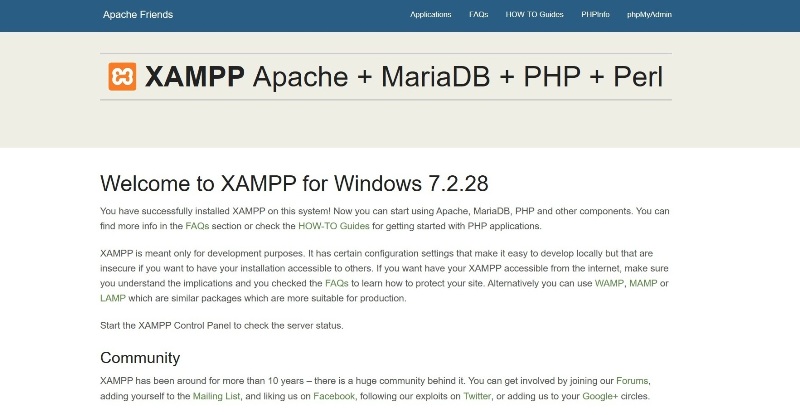
9. For checking the XAMPP server installed correctly. You can open any browser
Type any of the address in address bar
- Localhost
- System IP
- 127.0.0.1
You will redirect into the below page
DB creation and attaching to the WordPress
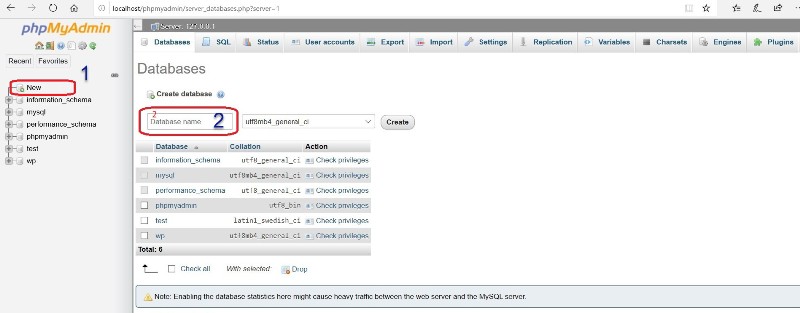
- Press PHP myadmin button above window and you will direct for PHP myadmin panel
Within this press New and Type desired DB name , Press Create
2. After creating the DB, then we have to assign it to the WordPress configuration file.
For this open your XAMP server folder location. Here C:/xamp/htdocs/wordpress.
Here you will find the wp-config, if your are not finding the wp-config file then just rename the sample file. And open the file with any text editor. Here I had used the notepad. Edit marked section as
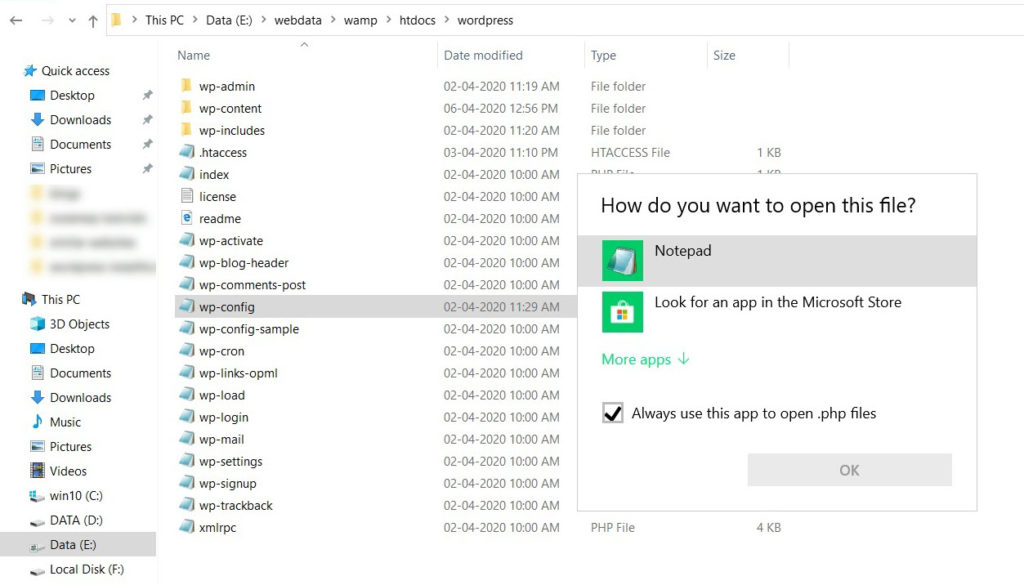
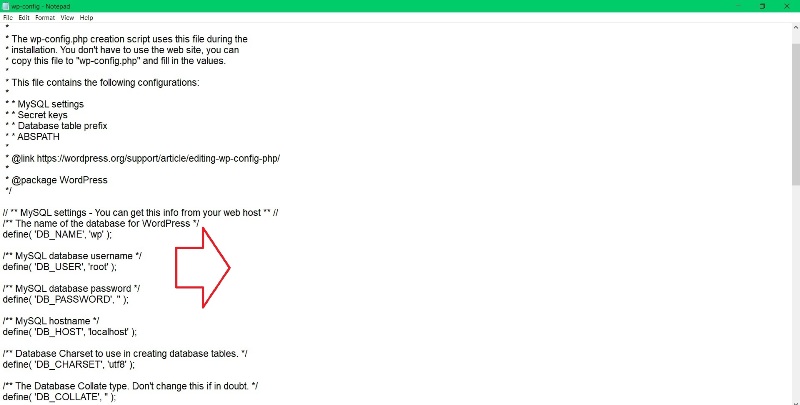
We only require to edit to define DB name, DB username, DB password
- DB name – WordPress
- DB username – root
- DB password – Keep it blank as you see in the screenshot
Save the file and close it.
3. WordPress setup and Login
- Open browser and type localhost/Wordpress
In your case localhost/yoursitename
You had completed the major steps for WordPress installation in the localhost.
Welcome page for WordPress and it is saying that DB name, username and password of DB.
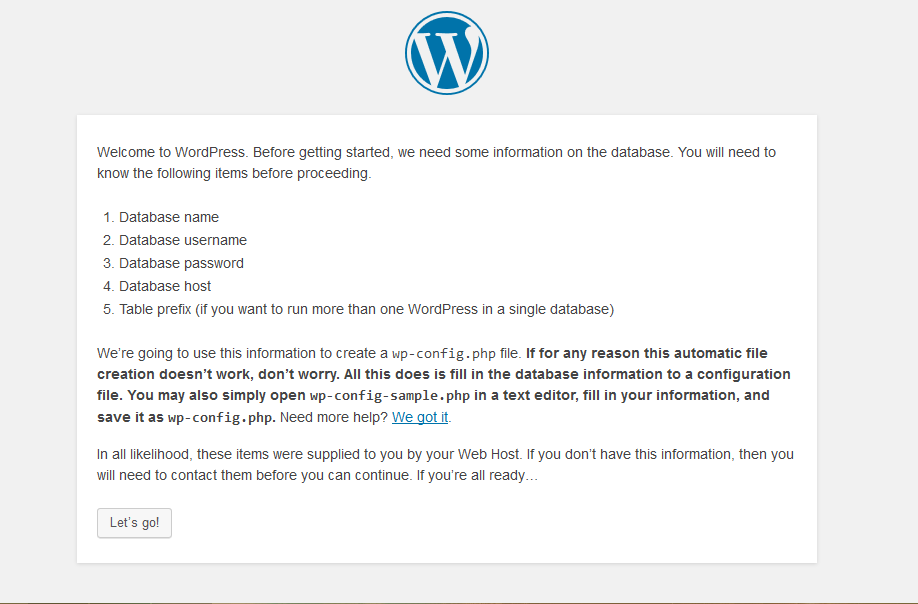
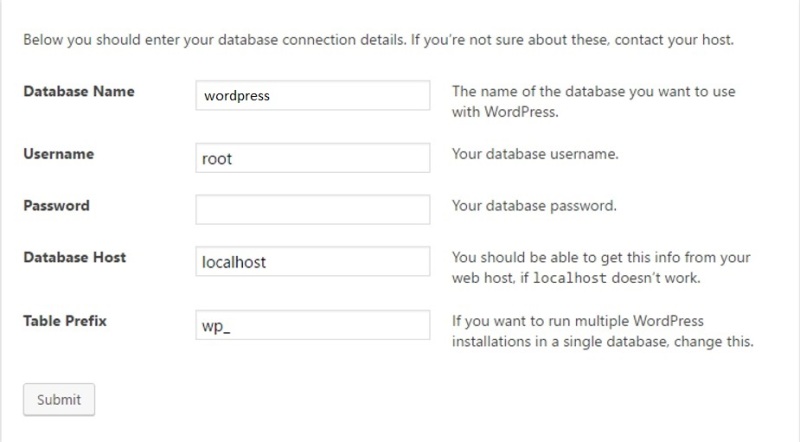
2. Then type the DB name as WordPress, that created earlier, user name – root, password make as blank then submit the window.
3. Next is WordPress website name and WordPress login username and password, Please remember the credentials. The press Install WordPress. After the installation the login window of the WordPress by typing the localhost/wordpress/wp-admin
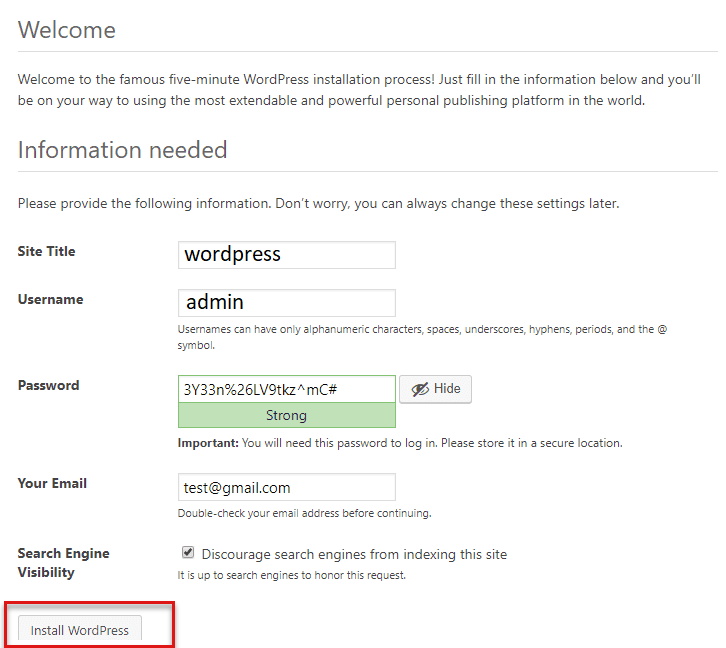
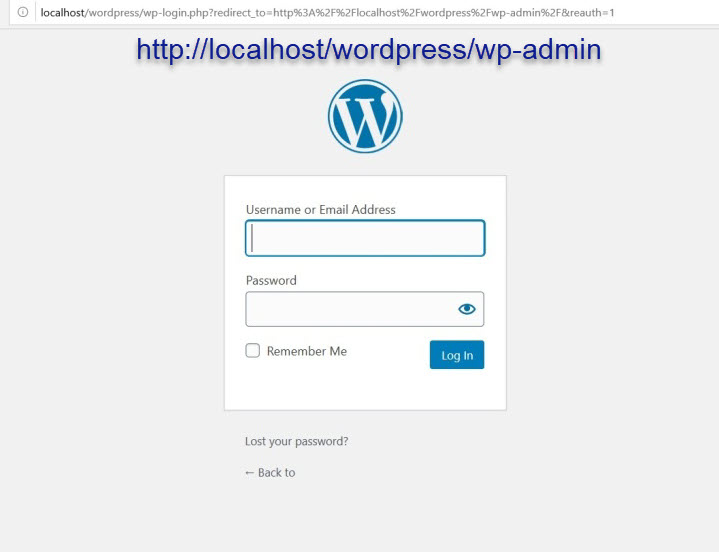
4. Login with your credentials
The link will be https://localhost/wordpress/wp-admin
5. The dashboard of the WordPress looks like this. And below shows the sample page created.
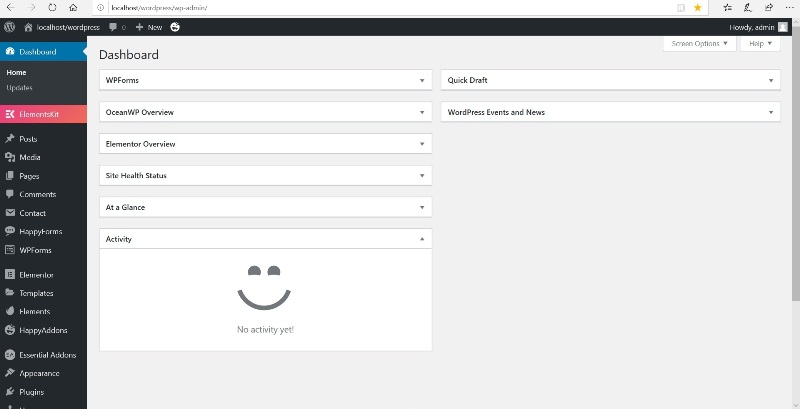
The final window for WordPress installation, which is completed in localhost
The below page refers the sample web content hosted on your local host. Please do some changes by uploading templates to get desired design.
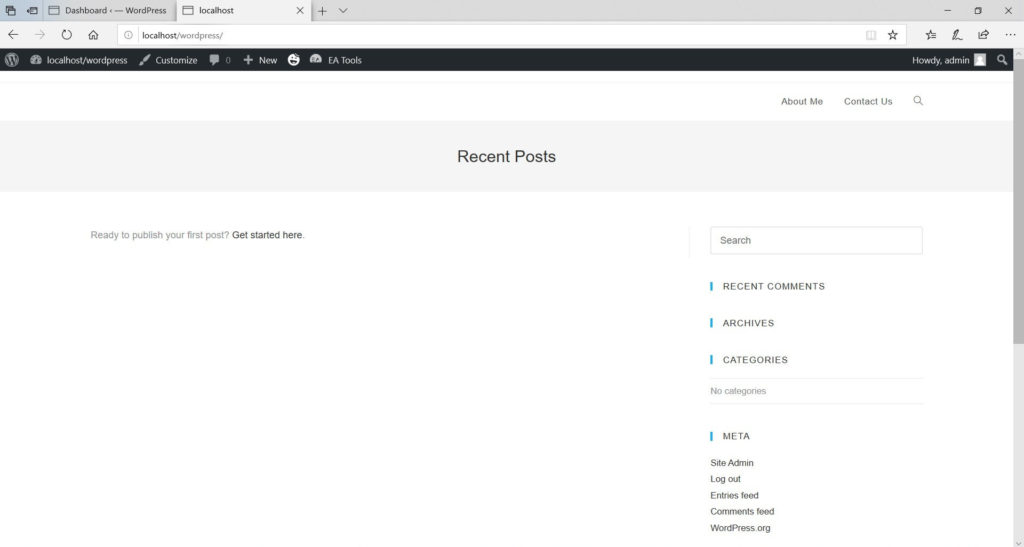
Now you have your own website working locally, the whole bunch of features you can integrate and finalize your data.
All the hard works paid off, your first website WordPress installation in localhost completed successfully.
After the completion of the website locally, you can export to the hosting provider’s panel to live from the internet.
The technical difficulty while installation for the WordPress.
- UAC
- Windows firewall
- WordPress login page error due to DB error
If you face any other issues feel free contact me , by filling the forms.
All the best !!
Addional read: Hacking methods that attackers are using

